One of the things I love about living in the Boston area is how many other small creative businesses there are around here. Many are even run by kind, brilliant, energetic people who are game to share and learn and be welcoming and generous. Since I started yeiou with really no idea what I was doing, I have always been curious to hear other people’s stories and processes and peek “behind the scenes”. Early on, I discovered Abby Glassenberg’s blog, While She Naps. I really appreciated how open she was about how her business works, what work earns money, how things shift year over year, and just generally being frank about the realities of working solo. When Abby co-founded and launched a professional organization, Craft Industry Alliance, I jumped at the chance to be part of something created out of this attitude of generosity and open sharing!
CIA is a great organization for people in the craft industry, especially those making and designing kits or patterns, but even as my business has shifted from craft kits to fine art, it is still a valuable conversation to be a part of, and they’re adding new benefits all the time – discounts on tools and services, exclusive online courses and webinars, and ways to interact with the community. So good!
If you’re interested, you can join Craft Industry Alliance.
The CIA Podcast Interview
One of the other great services of the CIA is the podcast! The podcast grew out of the podcast Abby had been running as part of her blog for years but has been migrated recently to be an official part of the Craft Industry Alliance. There are so. many. good. interviews on this podcast. A lot of them are geared toward fibers/fabrics/knitting sorts of people, but Abby’s interviews always touch on the business side of things, so there’s great learning regardless of your specific interests.
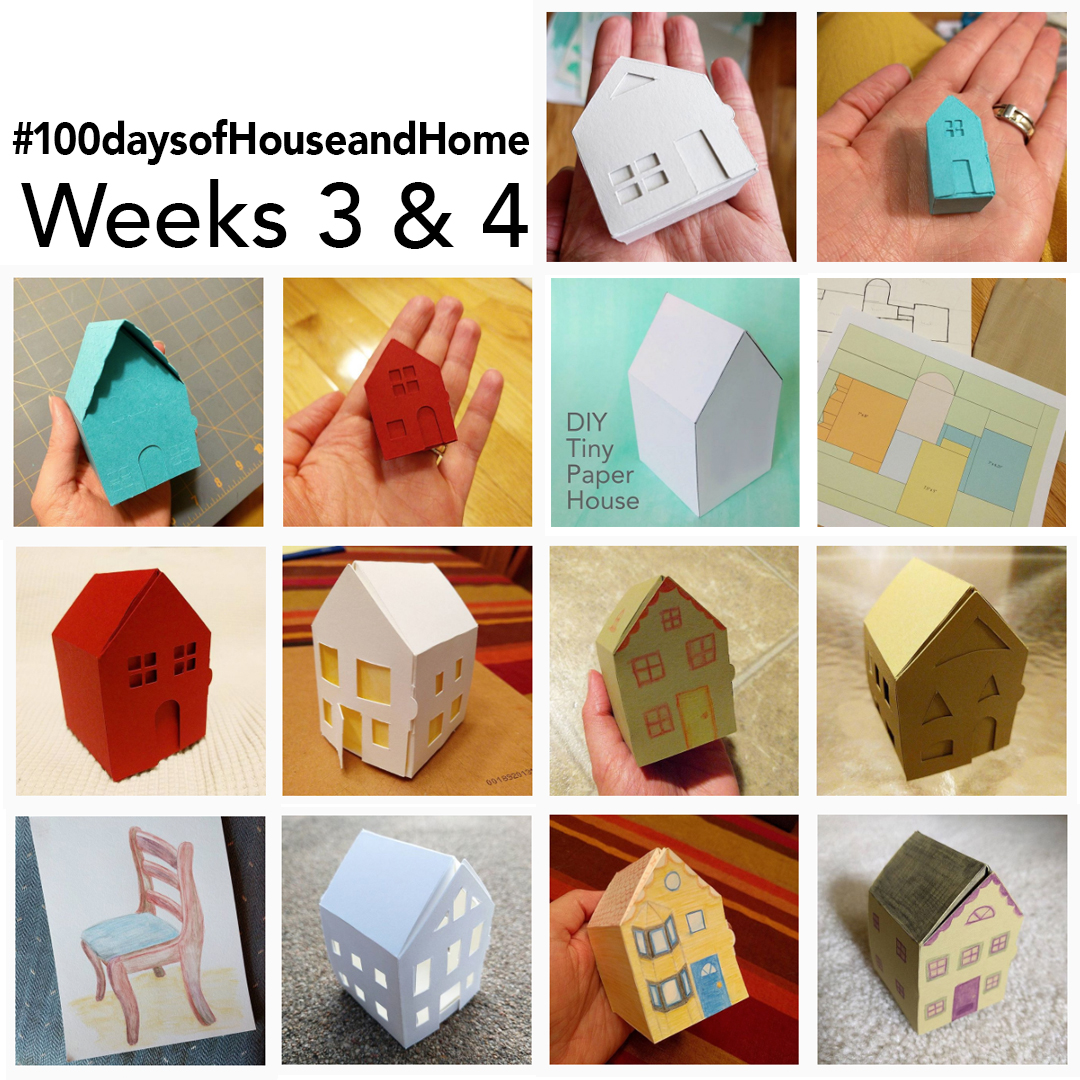
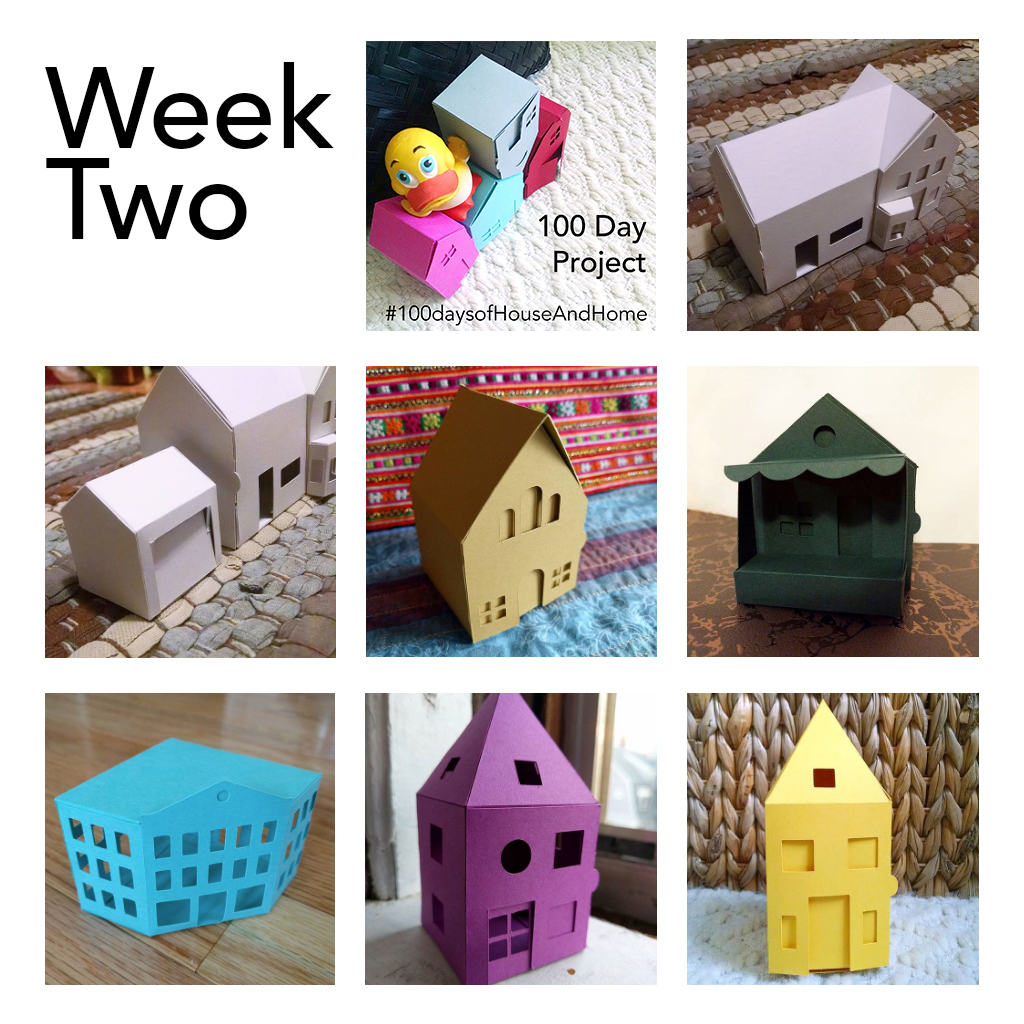
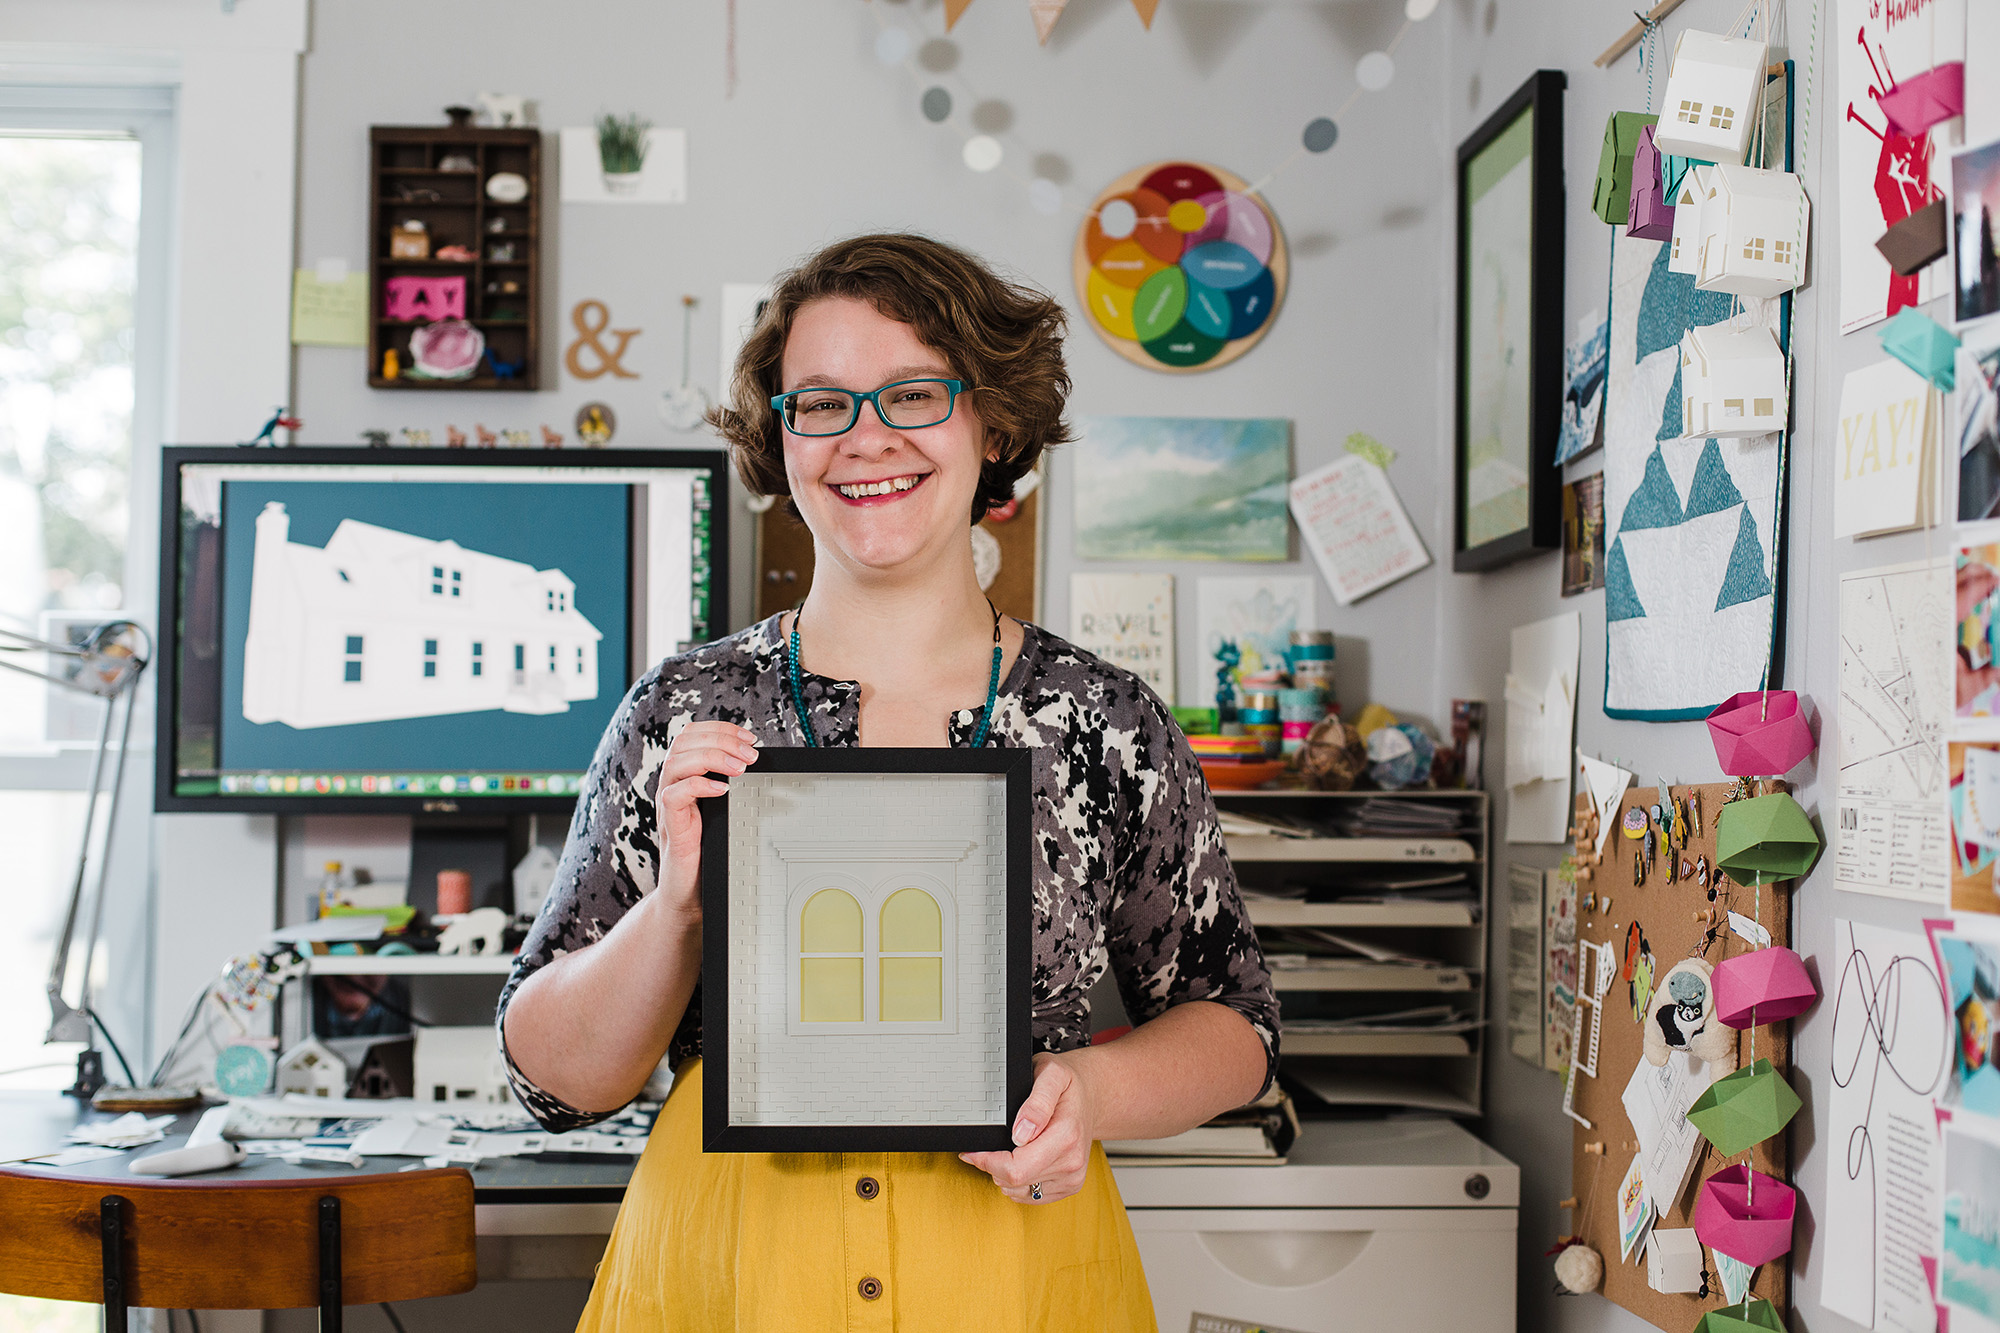
I had the immense honor of hosting Abby at my studio/home in December. We had a wonderful conversation that aired on the podcast earlier this month. I still can’t really believe my face is on the Craft Industry Alliance Podcast page with so many of my small biz heroes, but it did happen, and I figured I should mention it here!
In my interview, we chatted about how I ended up making house portraits, how the Etsy Design Award nomination game around, and how I came to be someone who works for myself making things out of paper, among other things! You can listen to the podcast below, head over to the Craft Industry Alliance site to listen, or listen on your favorite podcast app!
Many thanks, again, to Abby and to Craft Industry Alliance. I am so thrilled to be a part of all of the good things you’re doing in the world!