When I started my business, started designing and making products for my job, I had a vague inkling that it might consume my whole life. I drew a boundary for myself: if it involved fabric, it was outside of the scope of Work and could/should not have any external deadlines or obligations. I learned to sew as a child, but had recently started experimenting with quilting, thinking about garment sewing, and well, collecting fabric. It seemed wise to carve out something I could do for fun, for myself, outside of my creative Work.
Looking back at that youthful version of myself, there was so much wisdom in that decision! What I couldn’t see then, is that I was right…my work did consume my life, and I still don’t do much sewing, ten years later. I also think I was misguided…creating such strong boundaries around what was “allowed” in my creative practice and what was “out of bounds” has maybe made me slower and more fearful about experimenting and trying new things.
I’ve been on an adventure the last few years of realizing I was burnt out, and trying to find a new way forward. I’ve been asking lots of hard questions about what my body/brain/heart/self needs in order to find sustainability (and joy!) in some sort of creative practice, while also acknowledging that I might not find that right away in my paid Work (but maybe I can? but maybe I won’t?).
One of the things I’ve been wondering for the last few months is whether finding more time for stitching, mending, sewing, and quilting might be a way forward. I’ve found sometimes that making something, anything, helps jumpstart the making of everything. My hypothesis, then, has been: maybe if I do anything creative with my hands, everything will start to make more sense and my burnout will ease!
I’ve stitched needle books, gift wrapping cloths, zipper pouches, quilt tops, and sewn various torn things back together again. It’s been fun to be more of an actual sewist, instead of a fabric collector with aspirations of stitching.
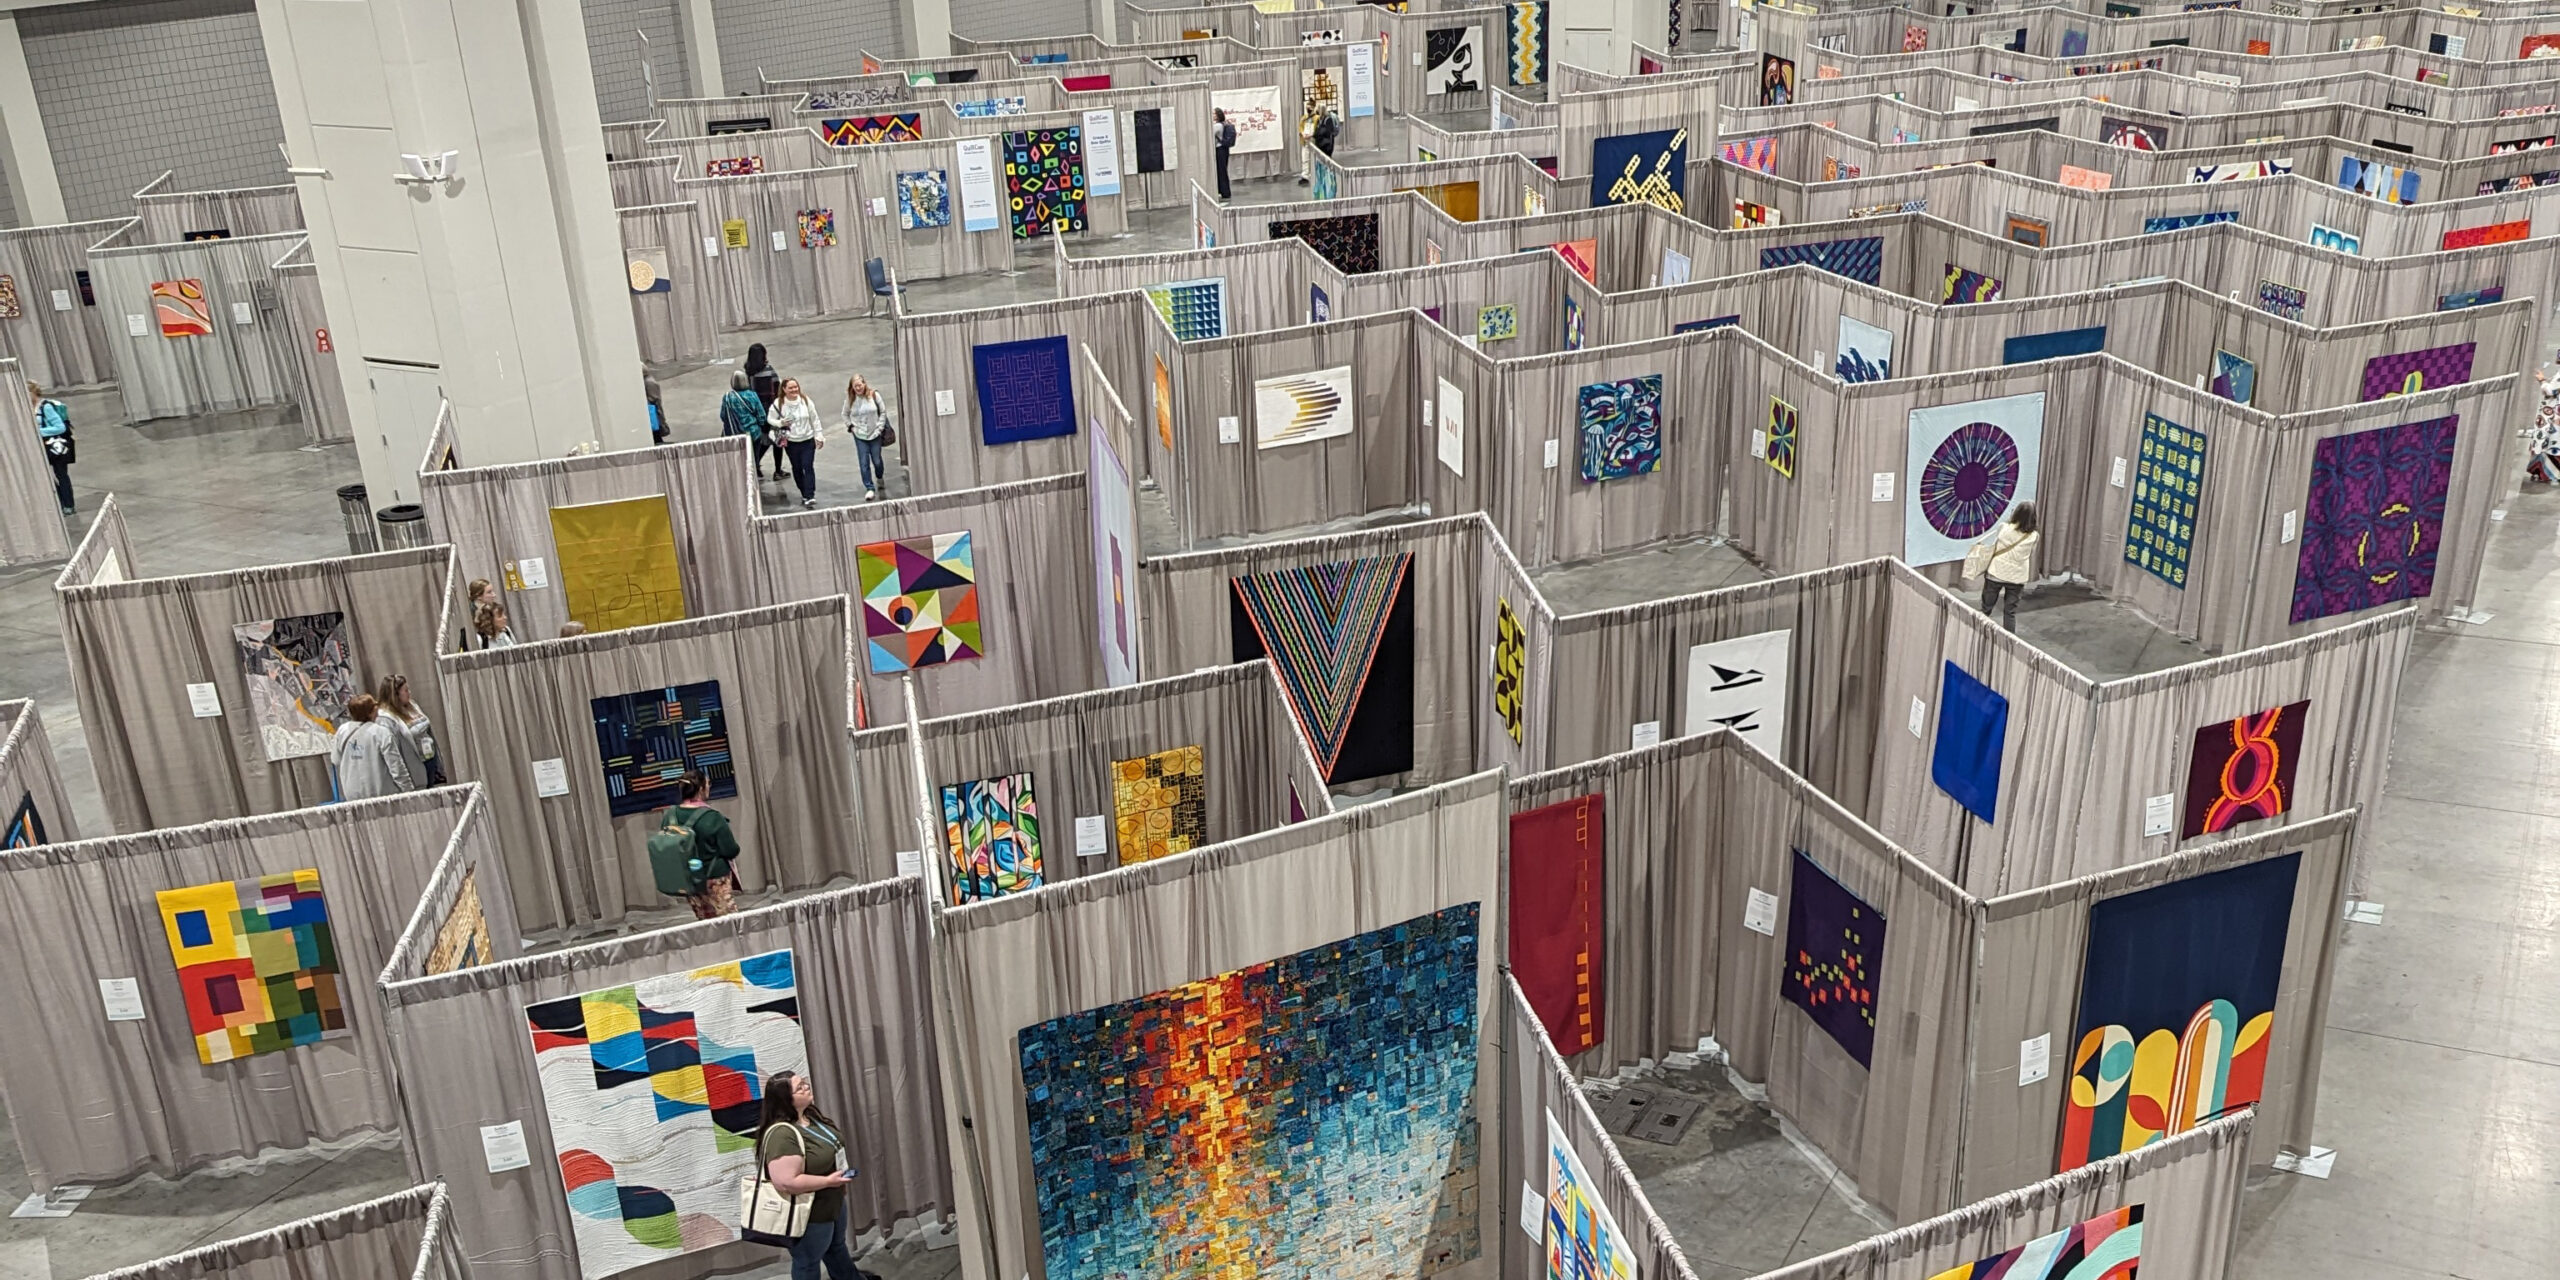
One of the things I decided to do to this end was attend QuiltCon in Raleigh, NC in February. QuiltCon is the annual convention of The Modern Quilt Guild, an international organization that celebrates quilts, especially those with a more modern aesthetic (think solid colors, lots of white space, lots of “rule” breaking).
Over the course of three days I looked at something like 600 quilts. They ranged from smaller than a sheet of paper to bigger than a bed. Some were all one color, some were every color you could imagine. There were map quilts, architecture quilts, people quilts, quilts that explored quilt history, human history, racism, school shootings, two-dimensional representations of three-dimensional space, texture, color theory, repetition, labor, symmetry, family, community….after the longest day of quilt viewing, I felt like I had tried to take a drink out of an open fire hydrant. So many skilled, caring, thoughtful people who made so many amazing things.
I’ve included photos of some of my favorites, with their info placards, below (click on an image for a larger view).
If you’re looking for more quilts, you can see the winners of the show, or scroll the hashtag #quiltcon2024 on Instagram.
Back home now, I’m still trying to understand my place in this big world of art making, and how to move past burnout, and what might be beyond it. I’m trying to be gentle with myself and take my time. I’m also feeling impatient! So, pretty normal.