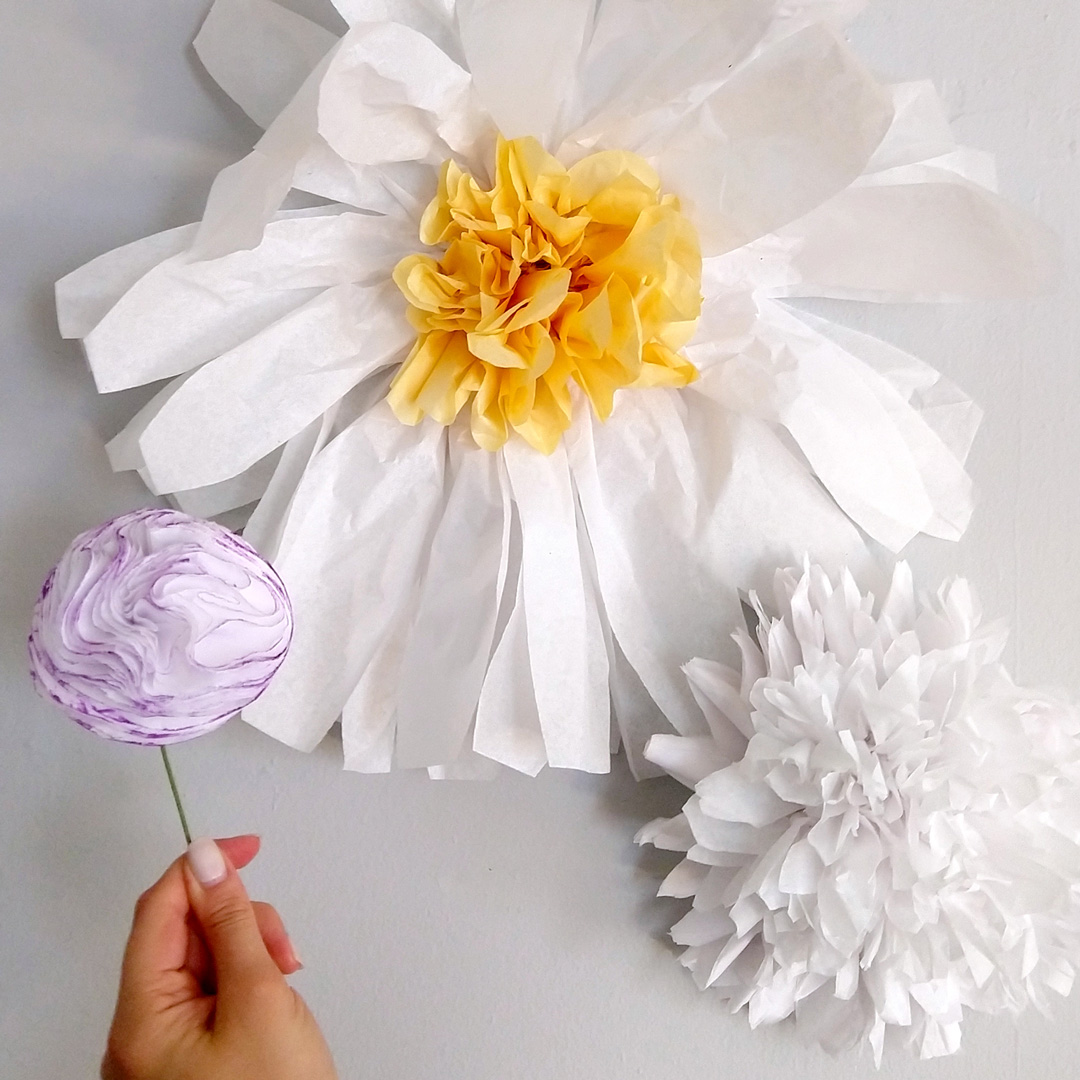
Once upon a time, I taught this project as part of a workshop I led at Albertine Press in Cambridge, MA. It’s been a while, and I’ve since moved on to teach some more-intricate paper flower projects, so I thought I’d offer my take on this project in a video so that you can make your own tissue paper flowers at your leisure!

I go through all your needed supplies and tools (it’s a short list) in the video below, but in case you’d rather have it in writing, here’s what you’ll want to have on hand:
- Tissue Paper!
This is pretty self-evident, but I’ll unpack it a little: if you have pristine tissue paper in perfect flower colors, go you! If you have random odds and ends from your stash of gift wrap, you’re in great shape! If you have an old phone book that you don’t mind tearing apart, I think this would still work for you. The thing you need is thin, lightweight paper. That cheap wrapping paper that isn’t opaque enough to hide what you’re wrapping might work. If you still get a paper newspaper delivered to your house, or you have a catalog or magazine with particularly flimsy paper, I think you’re in good shape. You want your sheets of paper to be at least 6″x10″ or so, and you’ll want at least four sheets that size. There’s no such thing as “too big” for this project, in my opinion, so go for it! - Scissors!
Or other sharp object capable of cutting through a few layers of whatever paper you end up with, just please don’t cut through yourself in the process. - String!
You could use yarn, a twisty-tie, a piece of ribbon, a pipe cleaner…anything that lets you knot or twist tightly around the center of your soon-to-be paper flower.
Once you’ve got your supplies, clear yourself a workspace proportional to the size of your paper, and let’s get to folding!
My favorite thing to do with these flowers is to wear them: