Etsy Design Awards 2019 & Custom House Portraits

Posted on
a paper model of a house with the words easy design awards on it

Earlier this year, Etsy put out a call for entries for their first ever “Etsy Design Awards” or “The Etsies”. I submitted my custom house portraits to the contest, and then went on with my summer. Between keeping up with commissions as they came in, and making sure I had inventory for my summer events, my days were full!

I got a call late summer letting me know that Etsy chose me as a finalist. Out of all of the entries, my house portraits were chosen as one of the 150-ish finalists! There are some amazing items in my group of finalists, the “Creative Collaboration” category, all products that are custom or customizable.

When the winners were announced at the end of September, I was thrilled to see my custom house portraits in the “Honorable Mentions” category of the list – what an honor!

I’m now focused on getting through all of the orders I promised in time for holiday gifting, and orders are still coming in for shipping in early 2020.

As part of the publicity around the Design Awards, I was interviewed in my studio by our local NBC news station. We talked about the Etsy contest and I shared a little peek behind the scenes. They filmed me going through each step of the custom house portrait creation process. It was so much fun to spend a few hours in my studio with the crew! They did a fabulous job telling my story, and you can watch the video here:

It was pretty well-received, so I listed a trial run of 5 houses for $50 each in my Etsy shop, and figured that given the overwhelmingly positive response, they would sell pretty quickly. Three of the five sold in the first few days, and then, maybe because I stopped talking about them for a while because I was busy working on them, the last two orders took a while to come in. Since then I’ve sold a few at what I’m calling my normal price for now, $150, as well as some special commissions with colors and other details that for now I’m quoting on a case-by-case basis.

This has been such a fascinating process. It’s such a different kind of work – more like the graphic design work I used to do, where I’m working directly with another human being to make something that they hopefully find beautiful and meaningful – unlike my product design work where it often feels like I’m making things, throwing them blindly into the world, and hoping the right person comes along and buys them! I’m still processing that, and feeling out what this change means for me and how I work and how yeiou exists in the world.

Heading into the holiday season, I’m feeling a little uneasy about the new breadth of my body of work – I’ve also added one-of-a-kind framed paper pieces to my repertoire. They are a lower price point than my custom house portraits, and help me build my skills and invent new techniques for rendering architectural details in paper…and I think they’re quite beautiful, too! But they’re another “thing” that I do, and it’s all quite hard to explain to random people I meet without pulling out my phone to show pictures!

At in-person events these additions feel risky to me, because I’m still figuring out how to tell a cohesive story about my full range of work. In the past, the story my display told was about creativity and the therapeutic qualities and infinite possibilities of crafting. It was all “yay” banners and bright colors. Now, my display is still mostly fun and colorful and enthusiastic, but there are also a few one-of-a-kind pieces that tend to be mostly white-on-white and about details and subtlety, as well as information about custom house portrait orders! It’s a lot to process, and I realize that, and I’m just going to go forward with the faith that I will figure it out eventually.

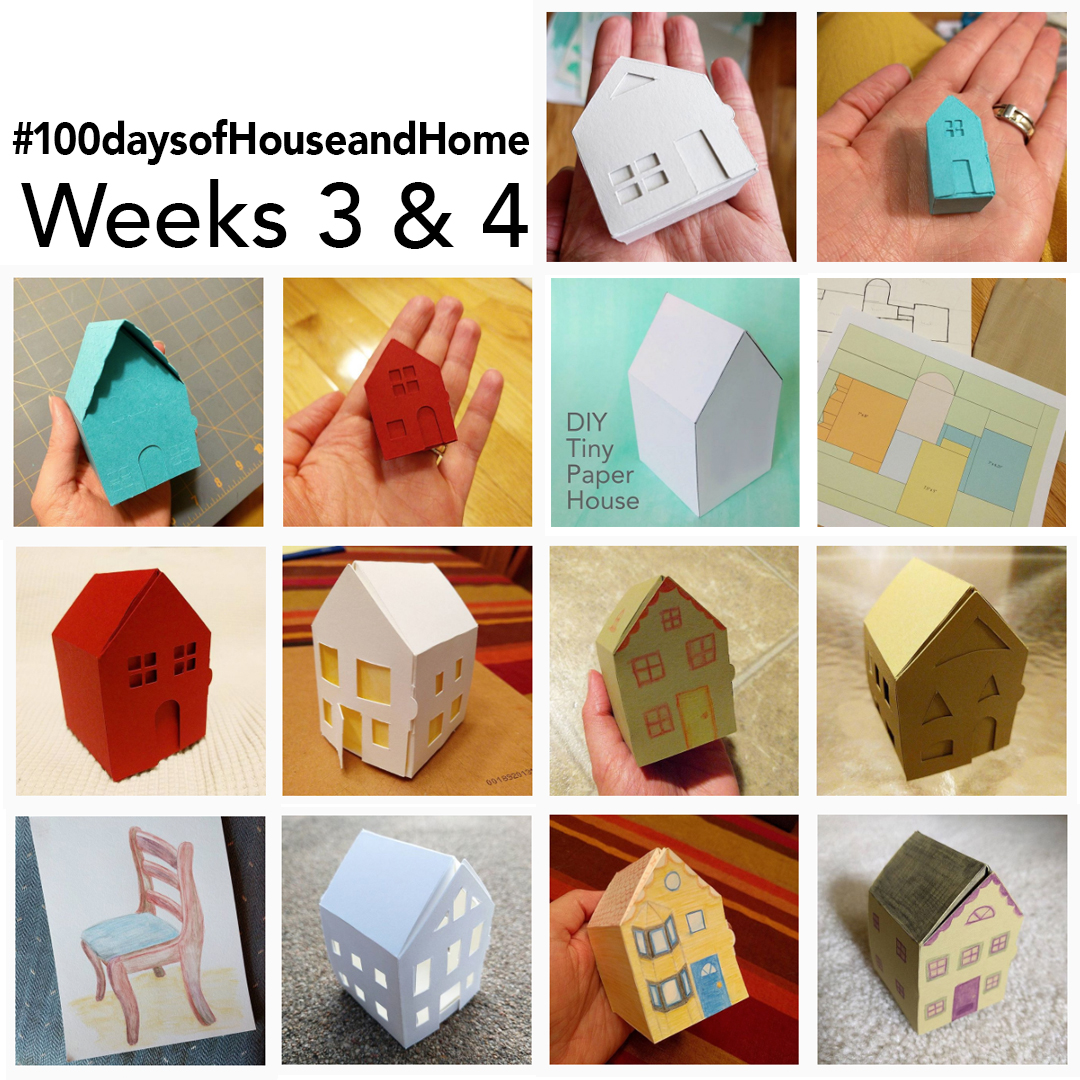
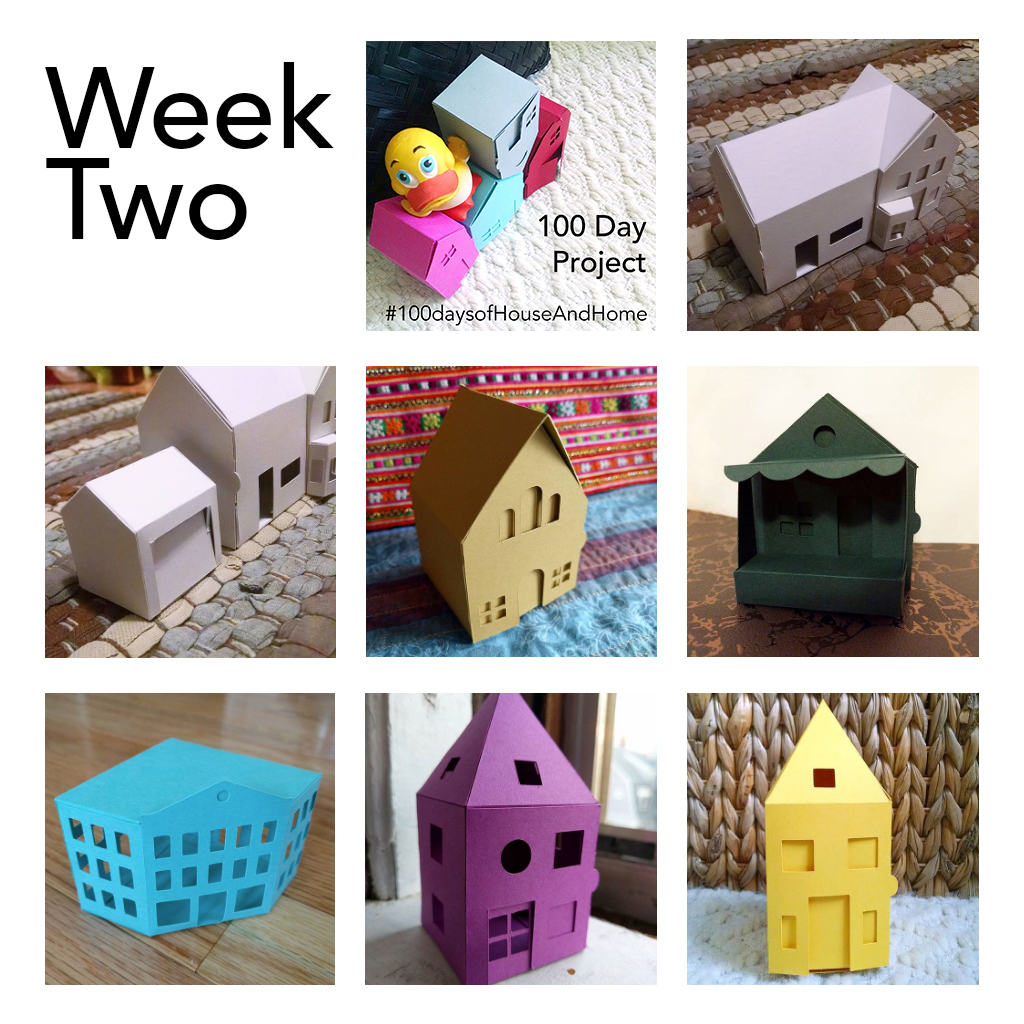
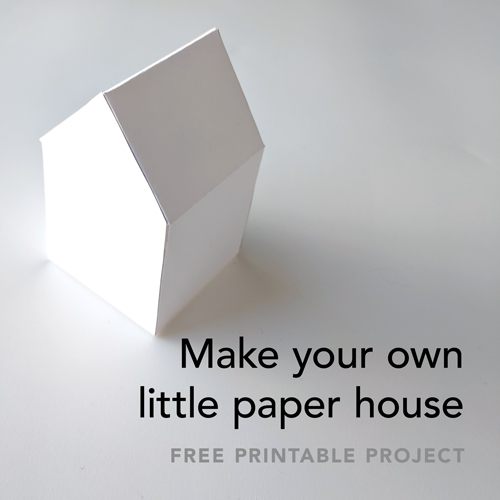
Anyway, because I wanted to see them all together, and maybe you do, too, here are all of the house portraits I’ve completed so far, in the order they were created:

Windows: A riff on Victorian-era architecture

Posted on
a white and black frame with a window on it

I’ve been obsessed with houses and architecture since I was a child, always staring out the car/bus/train/plane window, paying attention to what the buildings look like where ever I go. I never actually studied architecture, though, so it just became an observational past time.

When Brian and I moved to the east coast about 10 years ago, it was pretty mind blowing to suddenly be surrounded by historic homes and buildings, some of which pre-date the formation of the United States. Extra mind-blowing, there are buildings from that era that are used for things like housing college freshmen! Anyway, I love looking at buildings.

When I started working on my paper house portraits earlier this year, I began by focusing on the big picture, figuring out perspective, and making sure the house ends up being the right shape—I added some details here and there, but it was mostly about the shape/form of the house and the dramatic shadows for the windows and other cut-out elements.

With each piece I created, though, I found myself adding more and more little details, and wishing I could add even more! But when you’re trying to create a whole house in an 8×10″ or even 11×14″ space, there’s only so much detail you can add with bits of paper!

As I’ve been observing all of the different architectural styles in my neighborhood and on trips this summer, I realized that one area where buildings really show their character is in their windows, so I decided I would experiment with creating pieces that show a window and really hone in on all the details. My long term plan is that by making larger versions of architectural details, I’ll be able to make them more detailed when they’re smaller as part of a paper house portrait, too.

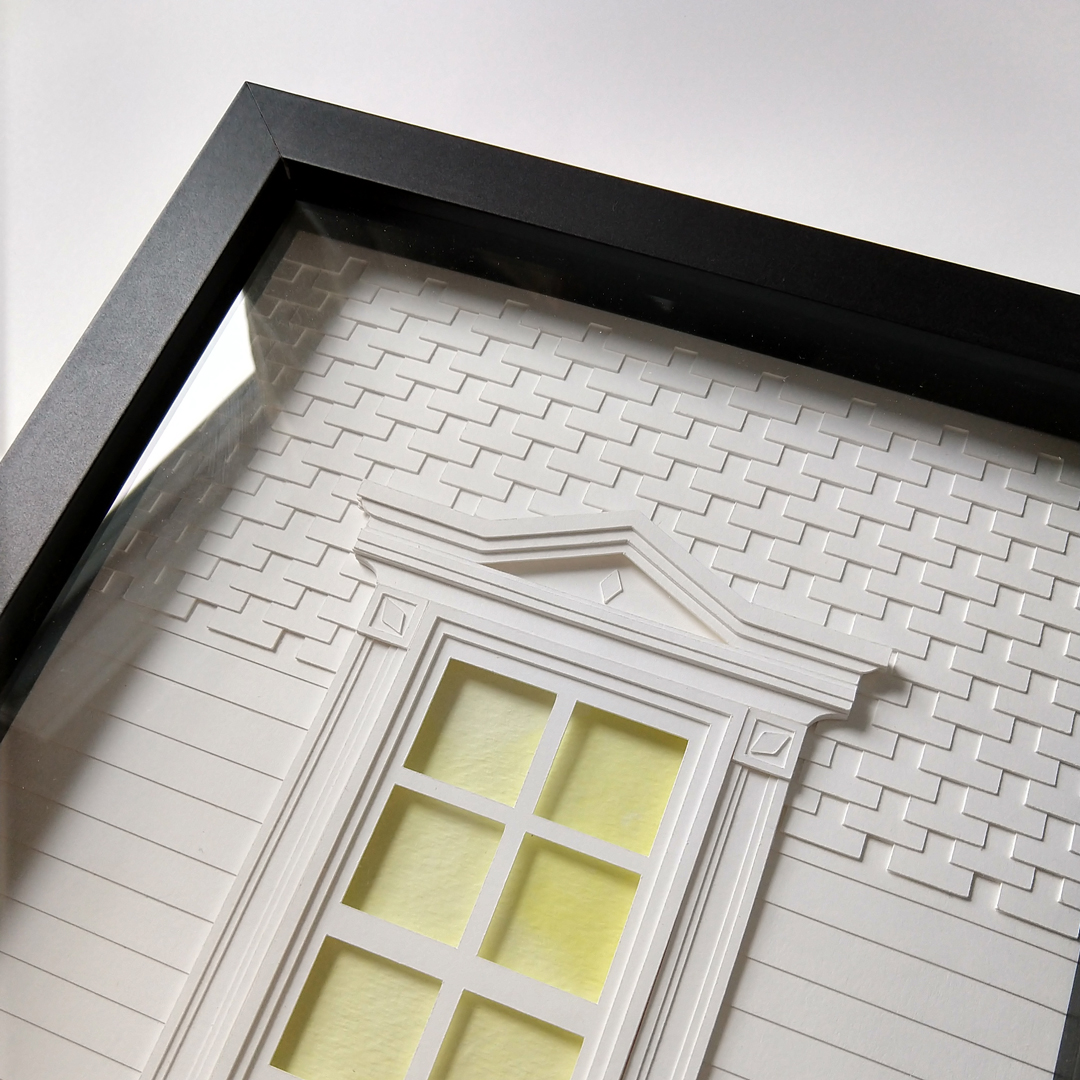
I began by researching Victorian era window styles*, and collected inspiration images from real windows as well as doll house window designs. Once I had my reference material, I designed the basic elements to create the multi-paned window, the moulding around the window frame and up the sides, and the decorative pieces above and below the window. I’ve been using those same building block pieces, and then adding additional pieces or modifying pieces, to create a series of Victorian-inspired paper windows. *To be clear, by “research” I mean I did a Google image search and collected some of the images that popped up with that search.

I try to keep one or two of these in my shop, but since they’re all one-of-a-kind that can be a little tricky as we approach the end of the year. If you’re interested in a window and there’s nothing in my shop, email me and I will let you know what I have in stock, or make one special for you!

Welcome to the neighborhood (of little paper houses)

Posted on
Spruce Land Paper Neighborhood Craft Kit by yeiou paper objects

I launched my little paper villages last spring, and didn’t really have a plan for them. They were an evolution of my generic little paper house design. I was selling them singly or in sets, and people seemed to really like them, and be interested in more variety of design. The first village combined a mini version of my paper barn and animals kit with two pretty basic little houses, and I added three more village designs over the last year and a bit.

I realized a few months ago, though, that calling them “Village Number Two” or “Village Number Three” was not only kinda lame, it meant that as I grow my product line I have to decide whether to just increment the numbers, or replace the existing #1 with a new design….it felt confusing just thinking about it!

So, I sat down with my chief strategy advisors a.k.a. my husband, Brian, and our cat, Bash:

Brian had the brilliant idea to name each kit after different trees that grow in the New England region. It seemed fitting to name these paper products after the plant they come from. Bash just knocked things on the floor. He was definitely less helpful.

We landed on tree-themed street names, specifically. The neighborhood I grew up in had a mix of trees and states for street names, so it reminds me of my home town, but lets you also imagine your own neighborhood around these kits.

The original village kit is now “Spruce Lane”, a nod to the less-saturated colors and cooler feeling:

Spruce Lane - yeiou papercraft neighborhood

“Beech Street” for this kit that feels very New England summer:

Beech Place yeiou papercraft neighborhood

“Village #3” became “Willow Road”, a nod to the bright, light, springy feel of this color combination:

Willow Road yeiou papercraft neighborhood

Village #4, all decked out in heart-shaped windows, is now “Pine Drive”:

Pine Drive yeiou papercraft neighborhood kit

These little neighborhoods are also begging to be made into a map, so stay tuned for that – just have to figure out what to call it! Yeiouville? The Village of Yeiou? Yeioutown? Let me know if you have a brilliant idea!

Fun, Free, and made of paper!

Posted on
Free Papercraft Watermelon by Mr. Printables

I discovered Mr. Printables when I was collecting ideas for my Paper Fun Pinterest board. There is a TON of content on the site. They have everything from calendars in the shape of a weird accordion rabbit thing to 3-dimensional paper alphabets to decorations for every conceivable holiday.

I’ve tried a few of the free paper craft projects as part of my #100daysofpaperfun project this year. I found the quality of the templates to be a little hit or miss, but you can’t beat the price! The illustration/surface design is lovely and fun, and some of the ideas are really creative. My frustrations were more with ease of assembly. Sometimes the flaps are pretty small, and it’s always tricky to get the last flap adhered when you’re working with closed shapes like the fruit.

My favorite so far has been the paper fruit. I’ve assembled the paper watermelon and a paper lemon. There are a few more paper craft fruits printed and waiting to go. I think the kiwi is next!

Papercraft lemon and watermelon

I also experimented with the 3D alphabet a little. Ultimately, I decided that while it’s a great resource, if I want to make 3D paper letters, I’ll be happier making my own!

Papercraft alphabet - the letter 'y'

#100daysofpaperfun My 2017 100 Days Project

Posted on
a hand holding a piece of paper with the words 100 days of paper fun on it

If you follow me on Instagram, you’ve likely seen me posting random paper projects for the last month or so. This random little goat “faux taxidermy” piece I created on a whim was sort of the impetus for the project:

I realized I have all sorts of random scraps and pieces and materials that I’m “saving” for a “special” project, and that in addition to the mental health benefits that come from doing something fun, it might be good to experiment and see if I land on any new product or project ideas.

I’m 32 days in, as of today, and it’s been really fun! I’ve made some random thing, tested craft kits and paper craft projects designed by other people, and had fun modifying and decorating my own products. Some days the open-ended-ness of “fun” is a little overwhelming, but I’ve been trying to be intentional about doing what feels good, and sort of following my energy (even if that meant taking a day off because I had no energy).

Highlights, in no particular order

I made a paper chicken, something that I’ve been meaning to work on for…a long time. 

I played with embroidery and cross-stitch on paper! I’ve been wanting to play around more with embroidery for a long time now, and combining that with paper was pretty awesome. Definitely planning on more of that in the future!

I made an Easter basket, by weaving strips of paper together:


I’ve also done a few experiments with cutting and folding tabs, this one was hand cut, so it has a nice organic feel (that’s what I’m telling myself, anyway), almost like fish scales or something. I’m thinking about ways these sort of shapes/tabs might be interesting as elements on a 3-dimensional form or on something flat, like a card, or maybe even a shadowbox? 


You can see the whole project at #100daysofpaperfun on Instagram, and basically everything I post there is paper fun, technically, so if that’s your jam, follow along!

If you’re looking for ideas to have some paper fun of your own, I’m collecting project ideas and finished projects on my Paper Fun Pinterest board.

100 Days: Weeks 3 & 4

Posted on
Week 3+4 of #100DaysofHouseandHome

I’ve moved 10 times in my life, but since my parents still live in the house I was born in, that counting starts when I left home 13 years ago. I generally refer to “home” as the place I’m currently living. And I’ve been in the Boston area for long enough now (8 years??!) that it feels more like home than Illinois does, but I still occasionally refer to my parents’ house, or the midwest in general, as “home,” since I did spend some important time there…but honestly, maybe also just because “my parents’ house” is a lot more syllables than “home”!

It’s a strange feeling, though, to know a place intimately, then leave it for a while, and then come back – some things are the same they’ve always been, and some things are totally different. It’s almost like time travel.

We spent some time traveling to and through the midwest last week, to visit the in-laws and roadtrip from Illinois to Oklahoma to see more family. When we go back to visit I’m always surprised at how much sky you can see from the side of the highway driving through rural Illinois. We have clouds here in Boston, but they’re harder to see without craning your neck.

Anyway, here’s what I’ve been working on! We were (obviously) far away from my studio, so these things are mostly cobbled together from the few supplies I brought with me, crafted on grandma’s kitchen table, and photographed in …exciting… lighting conditions.

(These are just my favorites, since it seemed like overkill to embed all 14 images here. You can also see all of the current #100daysofHouseandHome images here.)


Week 2: 100 Days of House and Home

Posted on
Week 2: 100 Days of House and Home

This has been a really interesting challenge so far, just over two weeks in. The theme of “home” keeps coming up in all sorts of places! Some friends and I have been talking about neighboring, and how being a good neighbor can make a huge difference in daily life and in the life of a city. I worked on some house illustrations for that project right around the time the 100 Day Project was starting, and that helped kick off my theme.

I went to a talk last week at the Boston chapter of Creative Mornings. The speaker, Shawn Hesse, compared fictional zombie apocalypse stories to real disasters that have happened around the world that are connected to climate change. His main point was that in the case of a zombie apocalypse, science people have actually calculated that given a hypothetical “zombie virus”, it would only take 3 days for the virus to spread to the entire world, and civilization would fall incredibly quickly, with everyone fighting for food and resources, bands of survivors eventually finding each other to be greater threats than the zombies themselves, etc. He talked about the different hurricanes, droughts, and other climate events that have caused similar crises, and similar desperation, though on a localized scale.

The parallels are remarkable, and sort of terrifying. The thing that struck me, though, is the work people are doing in resiliency, to try to plan and prepare for disaster. He mentioned specifically the Rockefeller Institute in New York City, working to build resiliency in communities by focusing primarily on building community and connecting neighbors, along with work to build resilient infrastructure. Their theory is that infrastructure doesn’t matter if people can’t work together to take advantage of it.

I’ve been thinking about that talk all week. Then, on Tuesday we woke up at 4:30am to catch an early flight to Chicago and sneak some friend time in before our week of family time. We had the chance to visit the Art Institute of Chicago briefly with a friend who has a membership, he said we had to check out the Van Gogh exhibit, since it was closing soon.

We walked into the exhibit and the intro blurb reveals that the entire exhibit is a reflection on the artist’s experience of home. Van Gogh moved 37 times in his short 37 years, and spent a lot of time and words writing about home and belonging in letters to his brother. One of his most famous paintings is an image of his empty bedroom in the house he felt was the only place that was really his home. He was so moved by this image that he actually painted it three separate times.

Here’s what I made in week two:


What does home mean to you?